Healthy Diabetic Veg Thali Recipe (30 Minutes)
A Diabetic Veg Thali is a wholesome Indian meal plate specially designed for people managing diabetes, weight loss, or those who simply want to eat clean and healthy.
Unlike a traditional thali that usually includes rice or wheat, this thali is made with millets like jowar (sorghum) and raw jackfruit flour, which are naturally gluten-free and have a low glycemic index.
These grains release energy slowly, keeping blood sugar levels stable while keeping you full for longer.
In India, the concept of a “thali” comes from a balanced way of eating where different dishes like dal, vegetables, roti, salad, and curd are served together on a single plate.
This tradition not only ensures variety but also provides all essential nutrients in one meal. By combining protein-rich dal, fiber-loaded beans stir-fry, methi millet roti, fresh salad, and vegan curd, this recipe brings together both taste and nutrition in a simple 30-minute preparation.
Details
2
30 min
20 min
Ingredients
½ cup chopped methi (fenugreek) leaves
1 green chili (finely chopped)
4–5 small shallots (or ½ onion, finely chopped)
¼ inch ginger (finely chopped)
½ tsp pink Himalayan salt (adjust to taste)
¼ tsp turmeric powder
¼ tsp cumin seeds
¼ tsp Kashmiri chili powder
¼ tsp freshly ground black pepper
A pinch of hing (asafetida)
1 cup jowar (sorghum) flour
⅓ cup raw jackfruit flour
Water (as needed, for dough)
1–2 tsp wood-pressed sesame oil (for cooking)
1 tbsp wood-pressed coconut oil
5 shallots (sliced)
2 green chilies (slit)
1 sprig curry leaves
1 cup chopped beans
¼ tsp turmeric powder
¼ tsp black pepper
Salt to taste
1 cup cooked dal (with 1 tomato, turmeric, and salt)
¼ cup water (adjust as needed)
2 tsp wood-pressed groundnut oil
1 tsp cumin seeds
2 whole dry red chilies
3–4 shallots (sliced)
4–5 garlic cloves (chopped)
1 green chili (slit)
¼ inch ginger (chopped)
¼ tsp turmeric powder
¼ tsp Kashmiri chili powder
¼ tsp coriander powder
A pinch of hing (asafetida)
Fresh coriander leaves (for garnish)
Nutrition Facts
Step-by-Step Instructions for Diabetic Veg Thali
Step 1: Prepare the Millet Dough
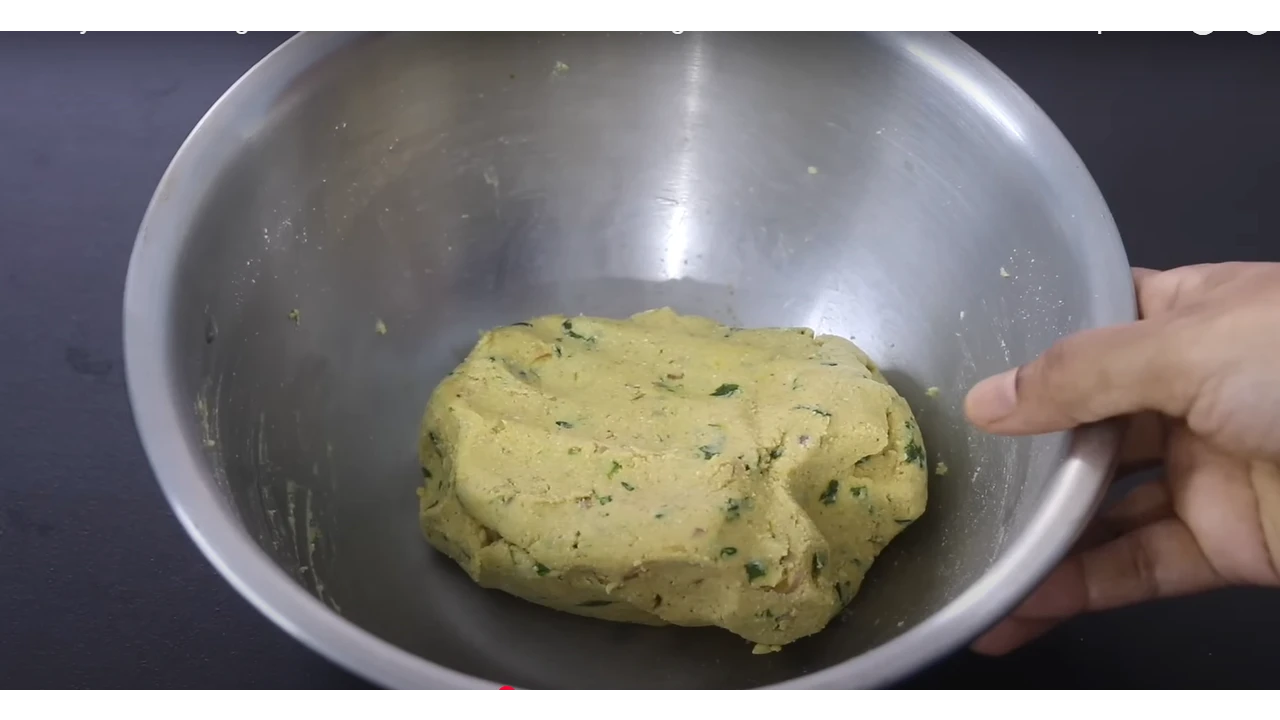
- In a bowl, mix methi leaves, green chili, shallots, ginger, salt, turmeric, cumin, chili powder, pepper, and hing.
- Add jowar flour and jackfruit flour.
- Slowly add water to form a soft, spreadable dough. Set aside.
Step 2: Cook Beans Stir-Fry
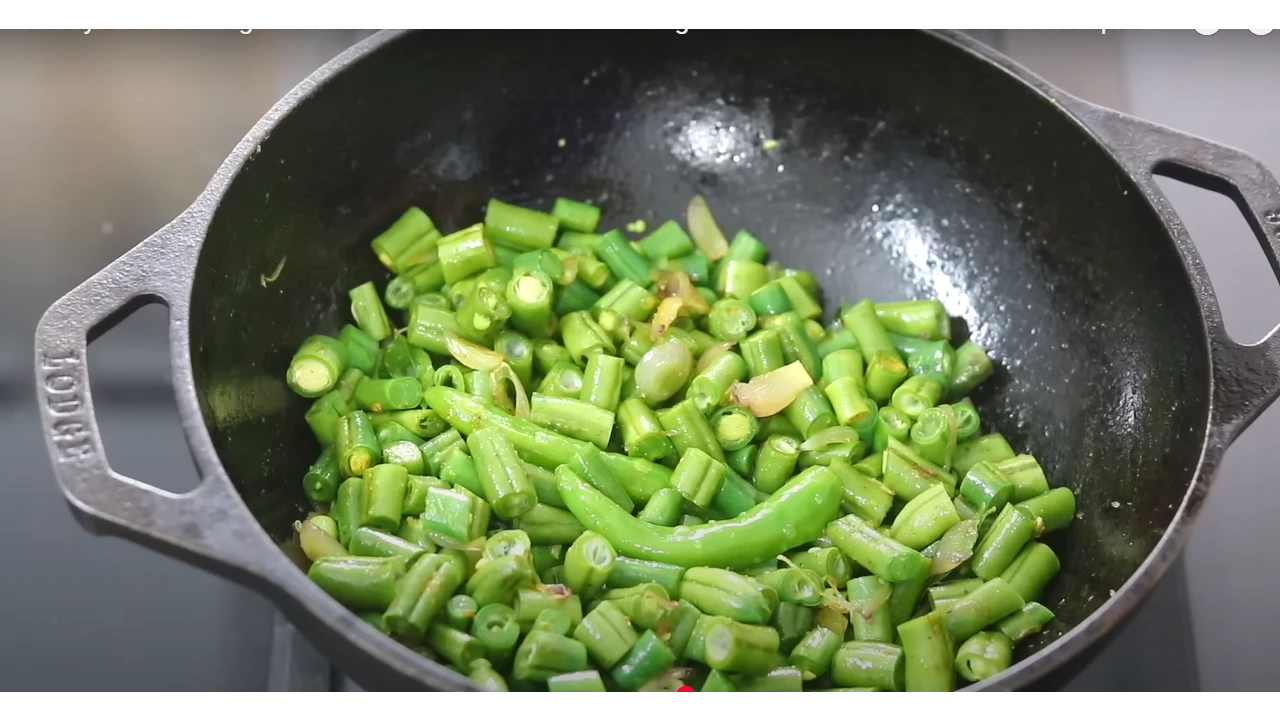
- Heat coconut oil in a cast-iron kadai.
- Add shallots, green chilies, and curry leaves. Sauté until light pink.
- Toss in beans, turmeric, black pepper, and salt.
- Add a splash of water, cover, and cook for 3 minutes on low flame.
- Let it roast lightly for 2 minutes. Turn off flame.
Step 3: Prepare Dal Curry
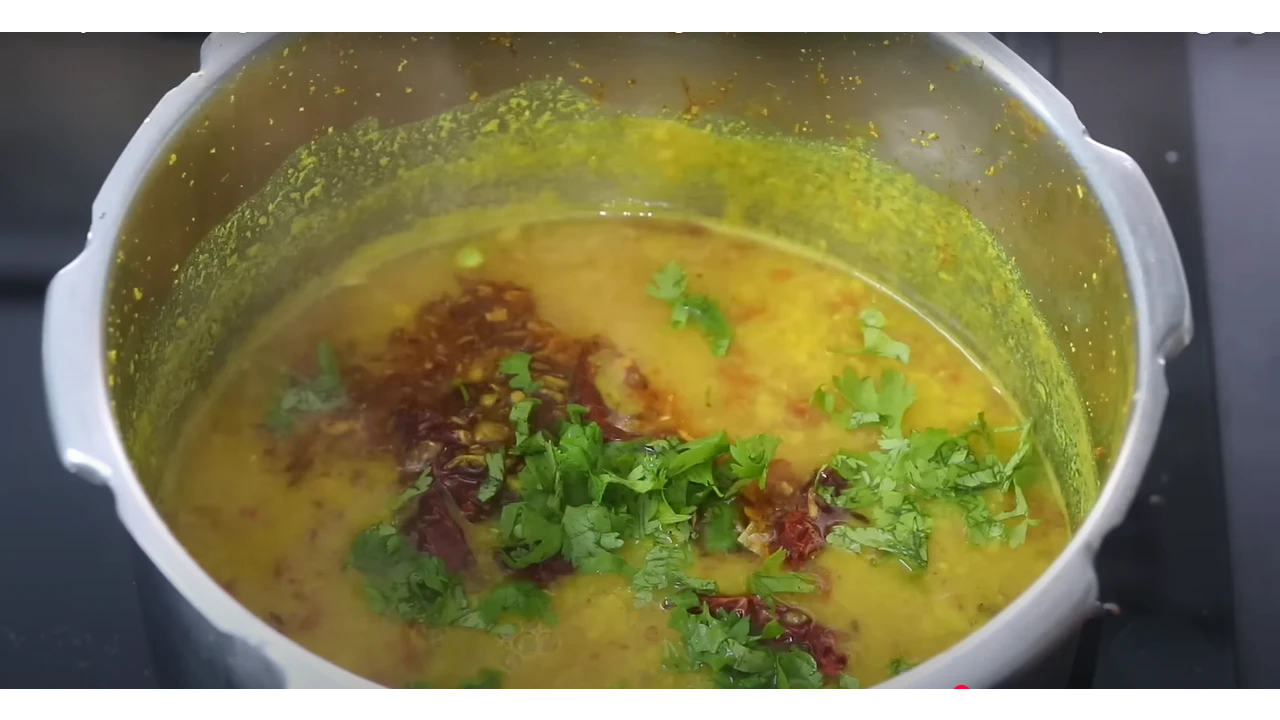
- Heat groundnut oil in a tadka pan.
- Add cumin seeds, dry red chilies, shallots, garlic, ginger, and green chili.
- Stir in hing, turmeric, chili powder, and coriander powder.
- Pour this tempering into the cooked dal, mix well, and garnish with coriander leaves.
Step 4: Make Millet Roti
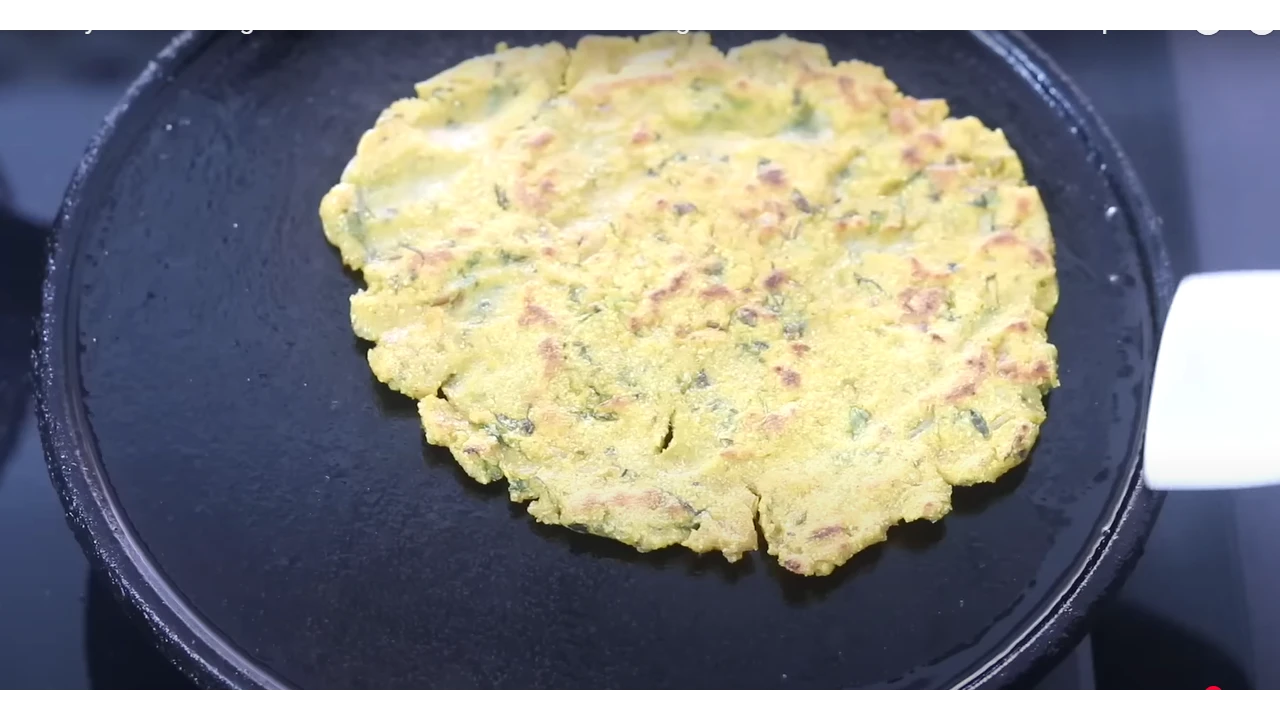
- Heat a cast iron tawa, grease with sesame oil.
- Take a portion of dough, place on tawa, and spread with wet fingers into a round roti.
- Cover and cook on low flame until golden. Flip, drizzle little sesame oil, and cook the other side.
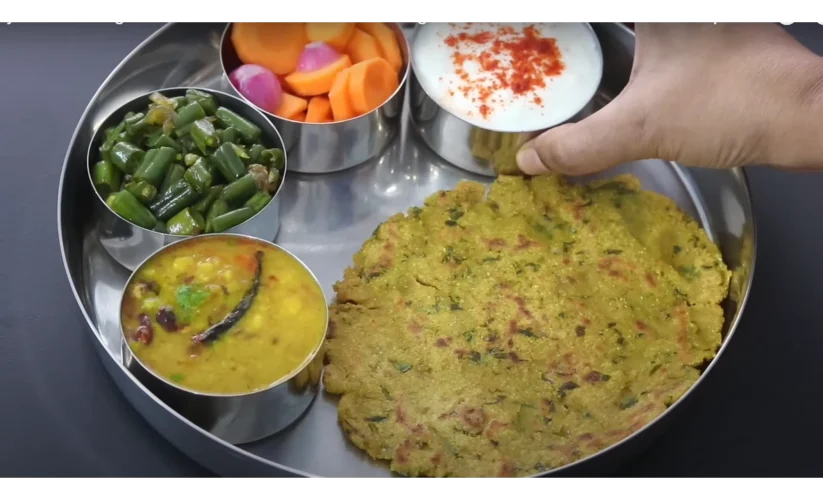
Step 5: Assemble the Healthy Thali
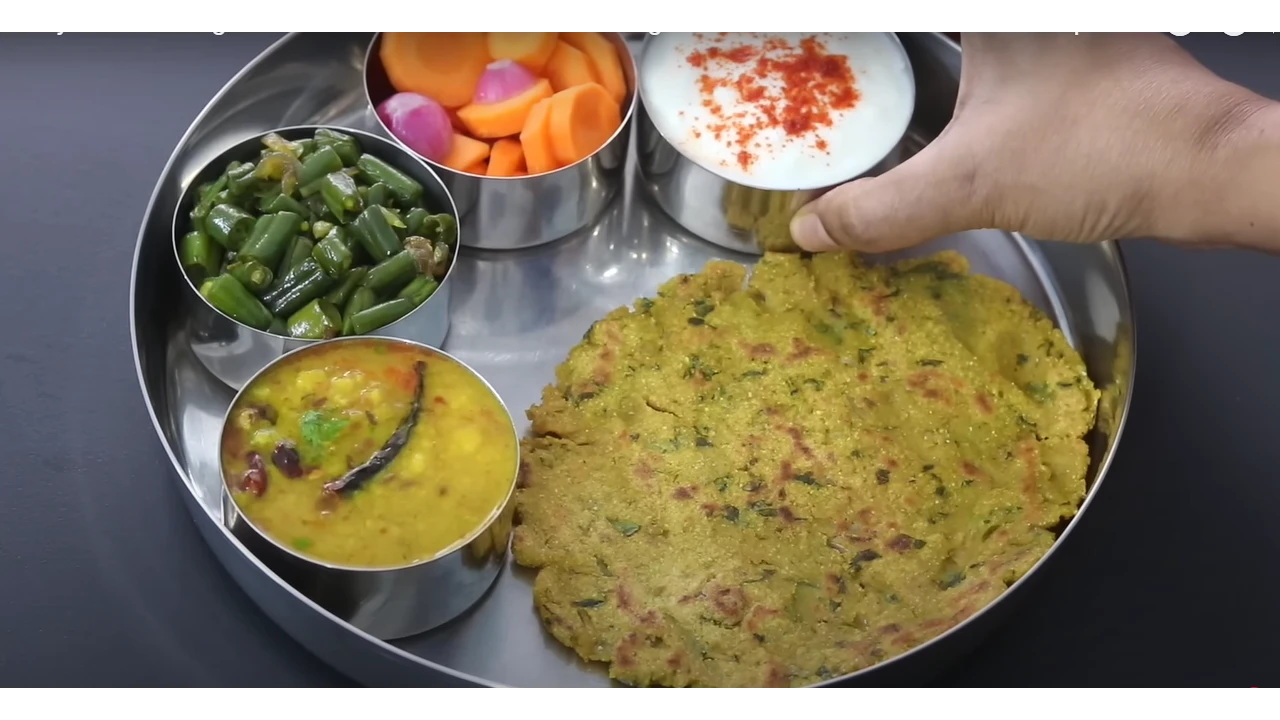
- Serve millet roti with dal curry, beans stir-fry, carrot–shallot salad, and vegan curd.
- This balanced plate is gluten-free, rich in protein, fiber, iron, and antioxidants, and keeps blood sugar levels stable.
Essential Tools for Making Diabetic Veg Thali
To prepare this 30-minute diabetic-friendly Indian thali, you’ll need a few basic kitchen tools. These will help you cook efficiently while preserving the nutrition of the ingredients:
- Mixing Bowl – For preparing the methi millet dough and mixing ingredients.
- Cast Iron Kadai (Wok) – Ideal for stir-frying beans; helps retain heat and boosts iron content in food.
- Cast Iron Tawa (Griddle) – Perfect for cooking millet roti evenly while enhancing iron absorption.
- Tadka Pan (Tempering Pan) – For preparing the flavorful tadka (tempering) for dal curry.
- Wooden Spatula or Steel Turner – To sauté vegetables and flip rotis safely.
- Measuring Cups & Spoons – To measure flours, spices, and liquids accurately.
- Chopping Board & Knife – For chopping onions, beans, ginger, chilies, and other vegetables.
- Small Katori/Bowl with Water – Helpful for spreading millet dough into rotis with wet fingers.
- Serving Thali or Plate – To arrange the roti, dal, beans stir-fry, salad, and curd in a traditional Indian style.
How to Store Leftover Diabetic Veg Thali
Since this thali includes millet roti, dal curry, beans stir-fry, salad, and vegan curd, here’s how you can store each component safely:
1. Millet Roti (Methi–Jackfruit Flatbread)
- Storage: Wrap in a clean cotton cloth or parchment paper, then place in an airtight container.
- Refrigeration: Stays fresh for up to 24 hours.
- Reheating: Warm on a tawa or steam lightly to restore softness. Avoid microwaving directly, as it may dry out.
2. Dal Curry
- Storage: Cool completely, then transfer to an airtight glass or steel container.
- Refrigeration: Keeps well for 2 days in the fridge.
- Reheating: Boil with a splash of water before serving to bring back freshness.
3. Beans Stir-Fry
- Storage: Place in an airtight container once cooled.
- Refrigeration: Can be stored for 24–36 hours.
- Reheating: Stir-fry in a pan for 1–2 minutes instead of microwaving to retain crunch.
4. Salad (Carrots & Shallots)
- Best Use: Prepare fresh for each meal.
- Storage: If needed, store in a covered container in the fridge for up to 6–8 hours. Add salt and lemon just before serving to avoid sogginess.
5. Vegan Curd
- Storage: Store in the fridge in its container.
- Refrigeration: Stays good for 2–3 days.
- Serving Tip: Stir well before use. Do not keep outside for long in warm weather.
Extra Tips for Storing
- Always cool food completely before storing to prevent bacterial growth.
- Use glass or steel containers instead of plastic to retain taste and nutrition.
- For meal prep, you can make the dough and store it separately in the fridge for 1 day, then roll out and cook fresh rotis when needed.
Conclusion
This Healthy Diabetic Veg Thali is not just a meal, but a complete balance of taste, nutrition, and tradition on one plate. Made with methi millet roti, protein-rich dal, fiber-packed beans stir-fry, fresh salad, and vegan curd, it is designed to keep blood sugar stable while keeping you full and satisfied.
The use of low glycemic index grains, cast iron cooking, and wood-pressed oils makes it a smart choice for those managing diabetes, PCOS, thyroid issues, or anyone aiming for healthy weight loss.
In just 30 minutes, you can prepare a wholesome, filling, and delicious thali that supports your overall wellness without compromising on authentic Indian flavors.
Try this recipe, enjoy it with your family, and make healthy eating a natural part of your lifestyle.